Spinning dots
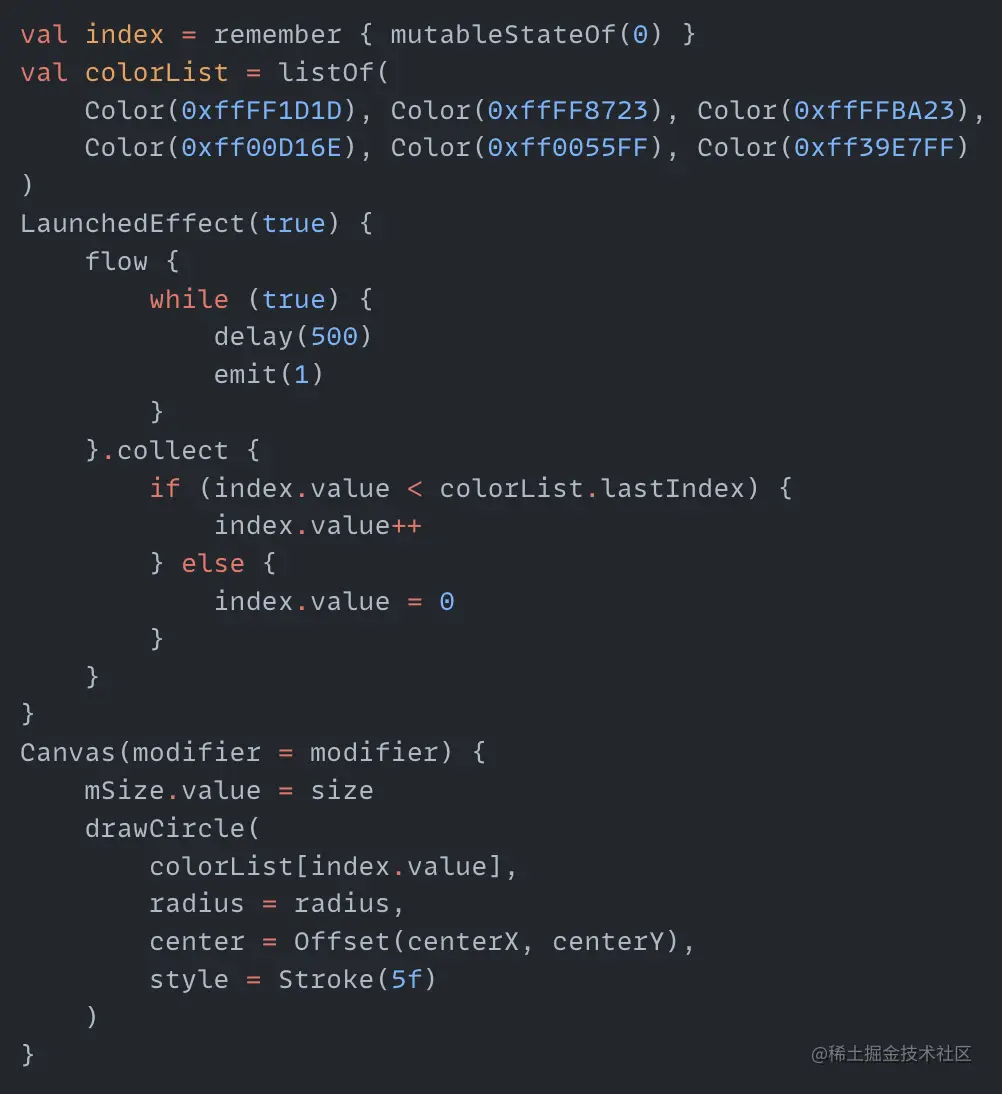
I've seen elsewhere online where someone used CSS to create an effect with several dots spinning around the center, each dot sequentially changing in size and transparency. Since CSS can do this, can we create a similar effect using Compose? Let's give it a try. First, since the dots spin around the center, we need to determine the coordinates of the center point and the radius.
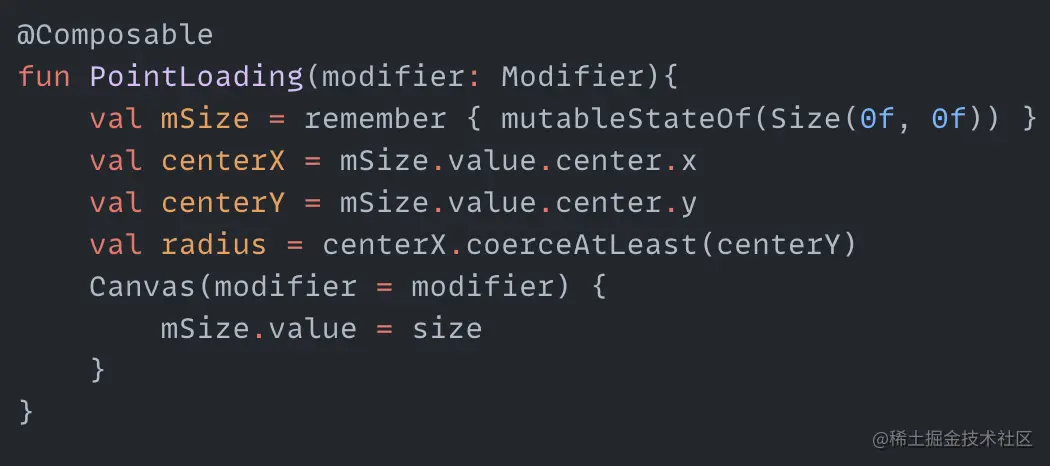
In the code, centerX and centerY are the coordinates of the center point, radius is the radius of the circle, and mSize gets the canvas size to dynamically update the center point coordinates and radius. We also need a set of angles - these angles will be used to draw the dots around the circumference.

angleList stores the angles for drawing each dot. With these angles, we can use the sine and cosine formulas to calculate the center point coordinates for each dot:
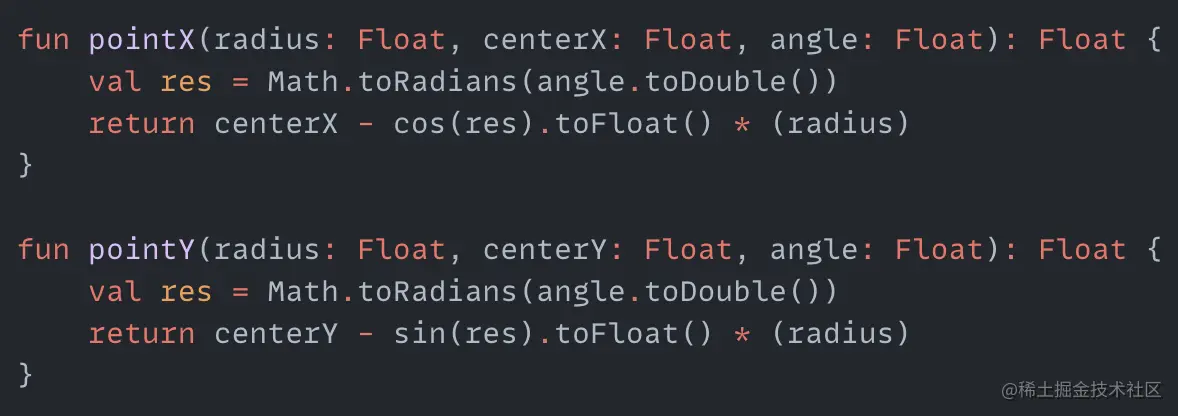
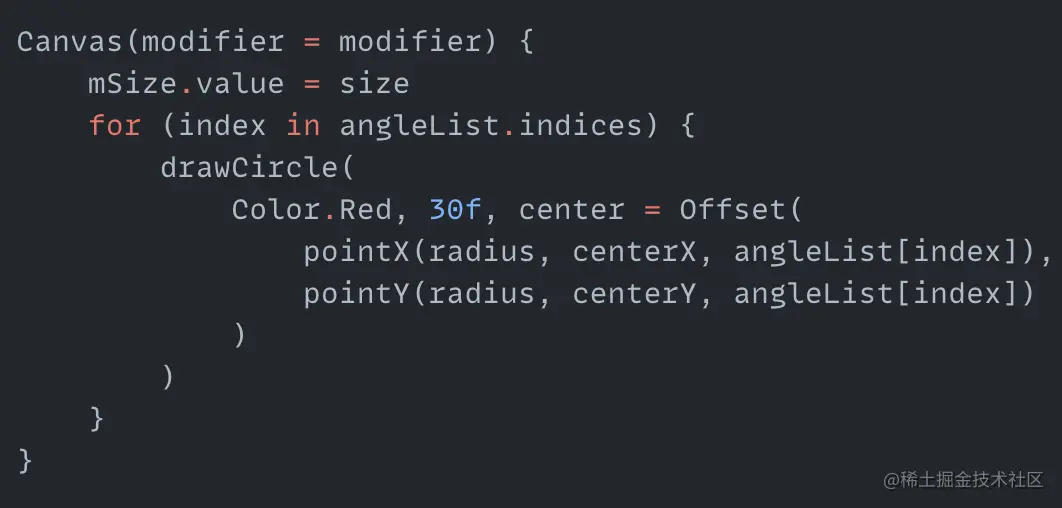
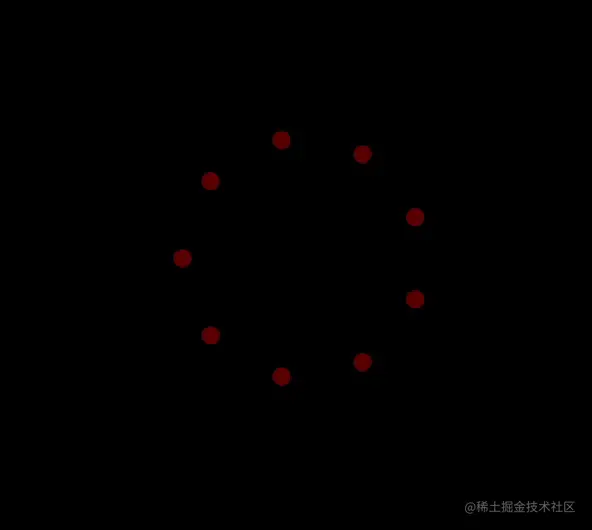
pointX and pointY are the functions to calculate the center point coordinates for each dot. Using this, we can first draw a circle of dots around the circumference.
Now that we've drawn the dots, how do we make them spin and change size and transparency? We can think of this process as continuously changing the size and transparency of each dot as it is drawn. So we can create two more arrays to store the changing radius and transparency values.

When drawing each dot, we can use an animation loop to pull values for each dot from the radius and alphaList arrays. This will create the change in size and transparency.
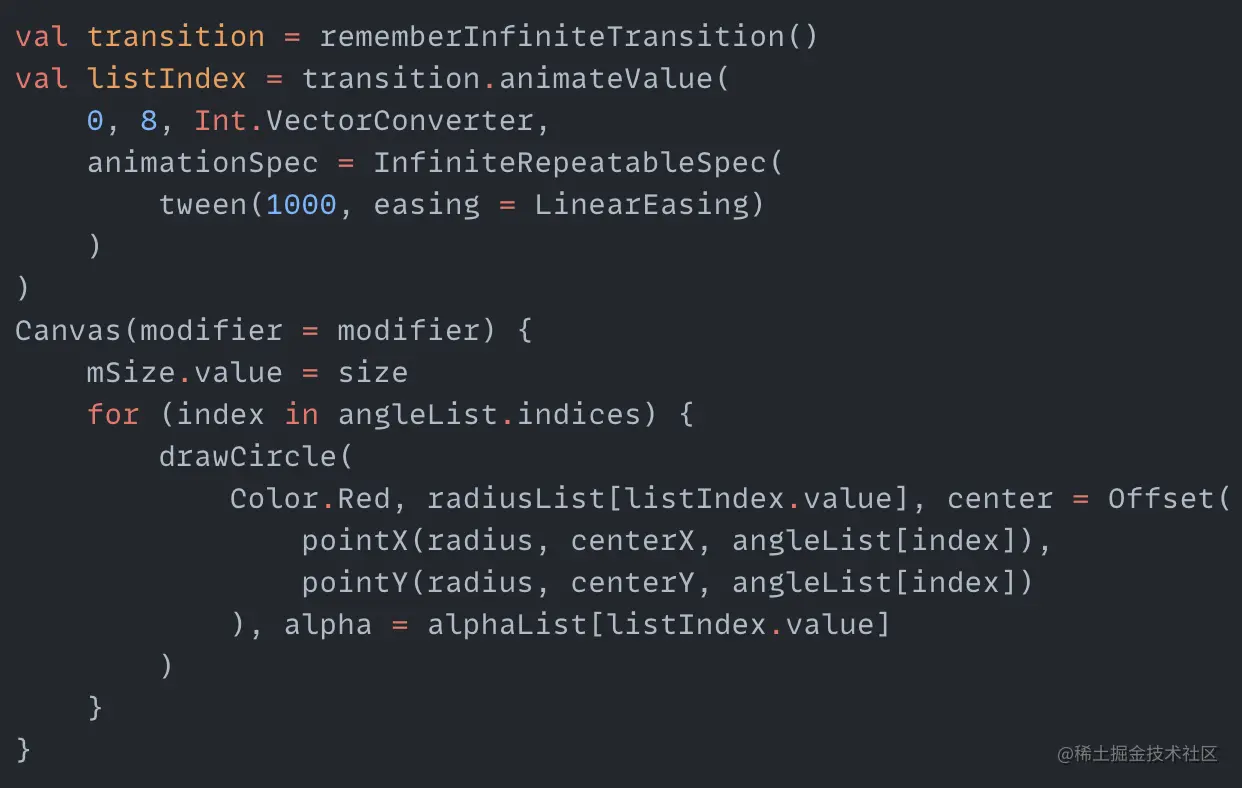
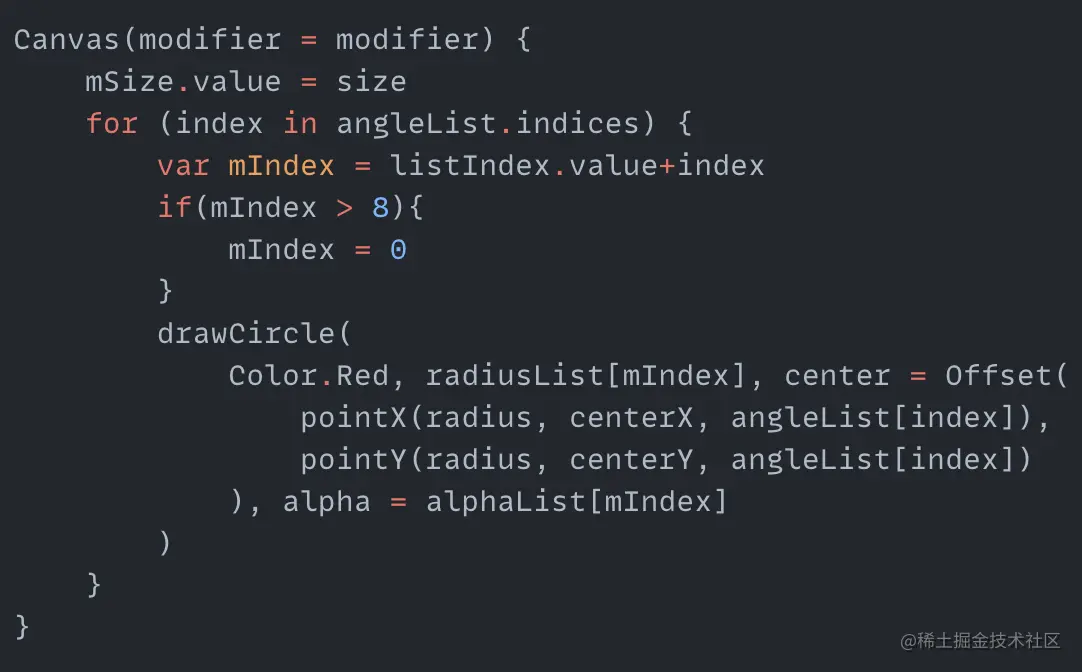
One more thing - we want each dot's size and transparency change to be different. We can do this by incrementing the listIndex each time we get it, and resetting it to 0 when it exceeds the array size. This makes each dot unique:
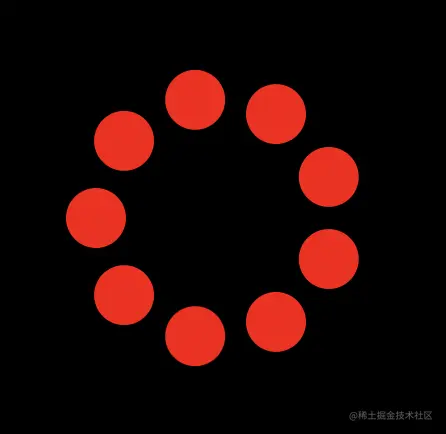
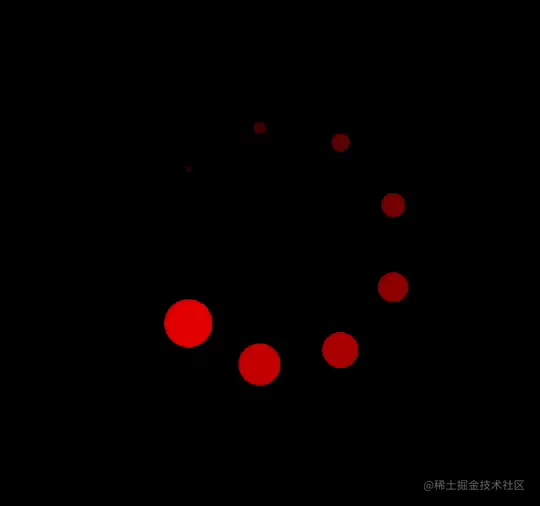
And we now have the completed effect:
Colorful rings
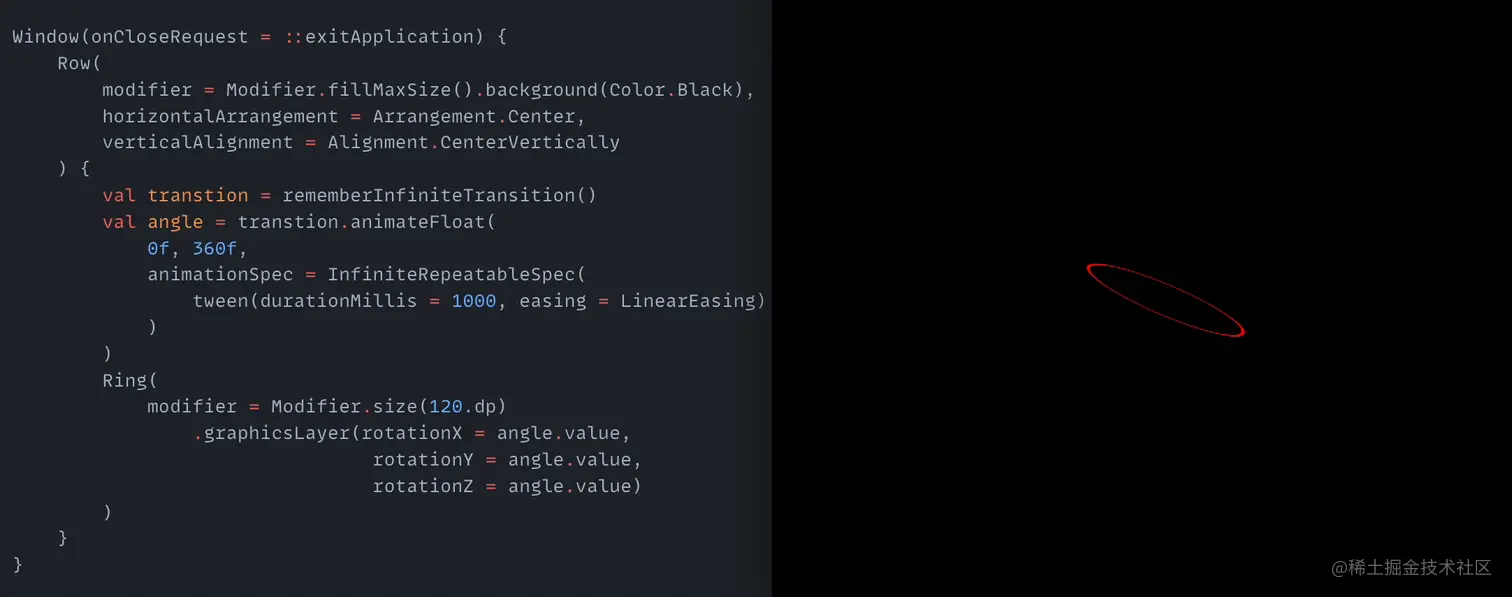
This animation mainly uses the Modifier.graphicsLayer operator. Let's look at the parameters it provides:
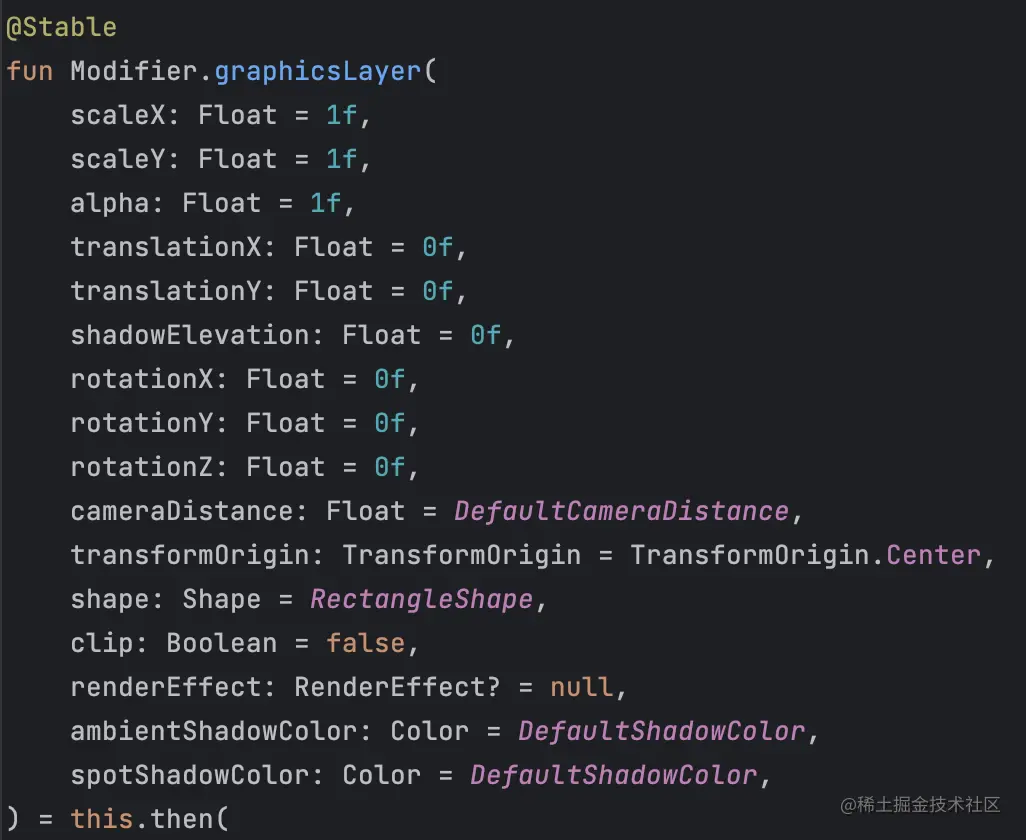
We can see many graphics related parameters like size, translation, transparency, rotation etc. Here we will use the three rotation parameters: rotationX, rotationY, rotationZ.
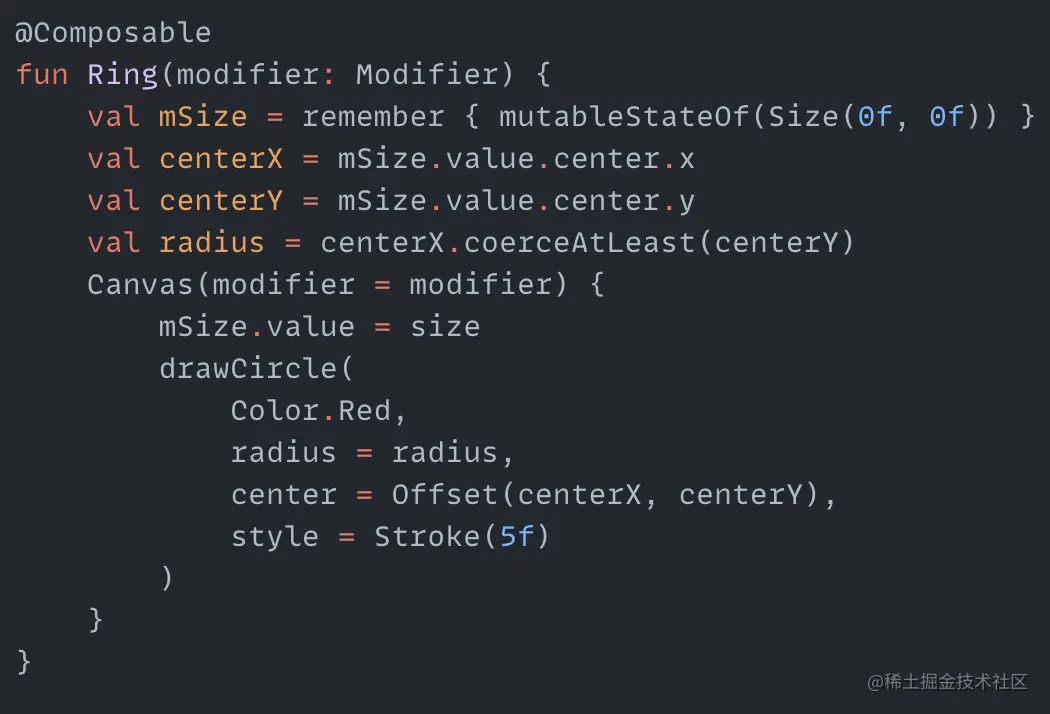
For example, we have a Ring function that draws a ring:
We can create three rings in our UI and rotate them around the x, y and z axes:
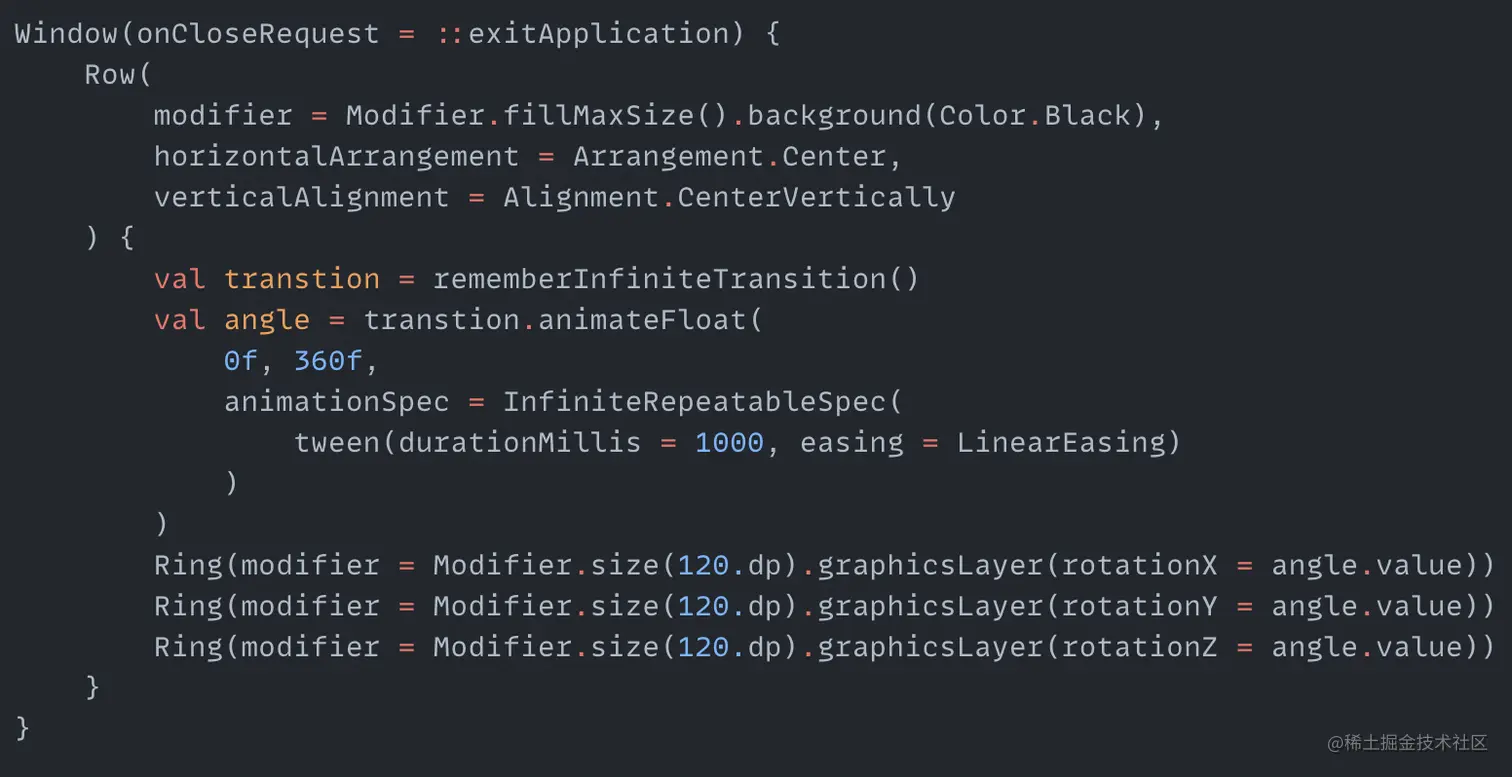
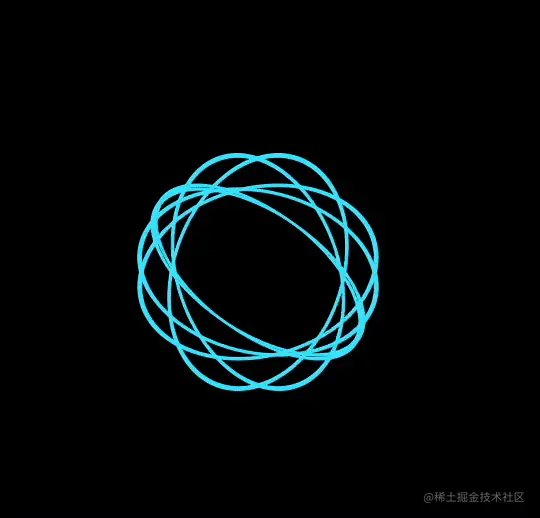
The rotation uses an animation from 0 to 360 degrees. The effect looks like:
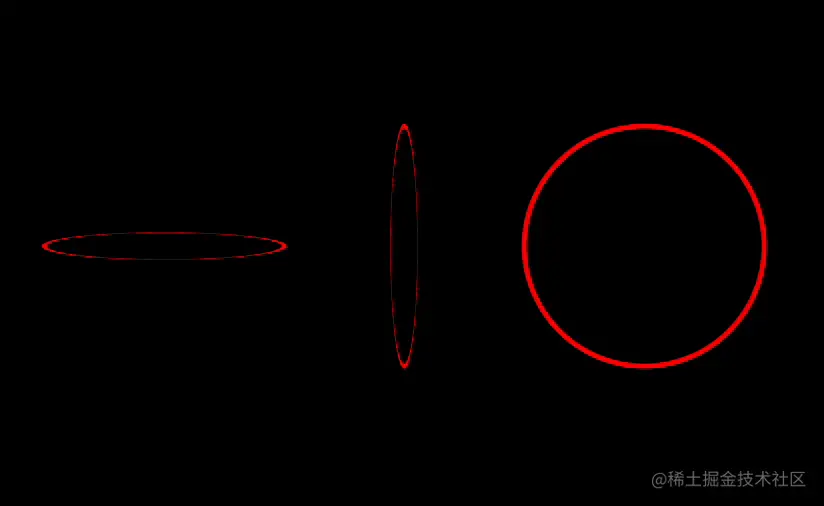
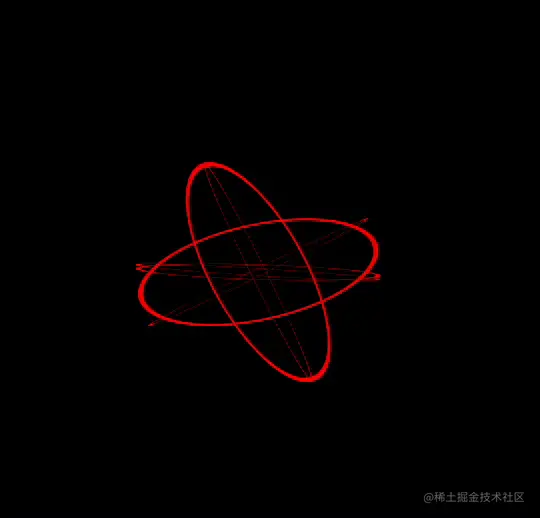
It seems like only the first two rings moved - the third one didn't. But the third one is also moving, rotating around the z axis like a wheel. Let's try combining the three rings into one, rotating around all three axes. What will happen?
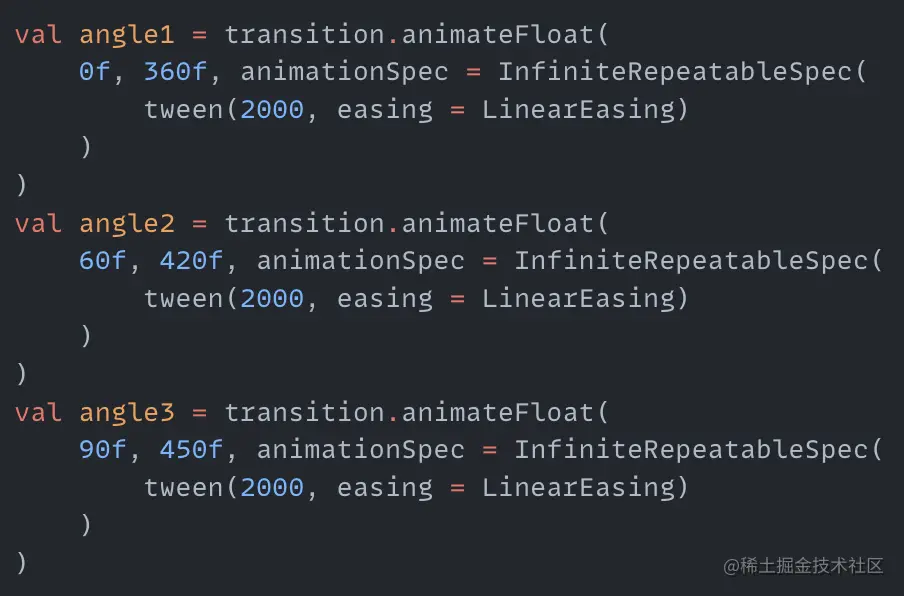
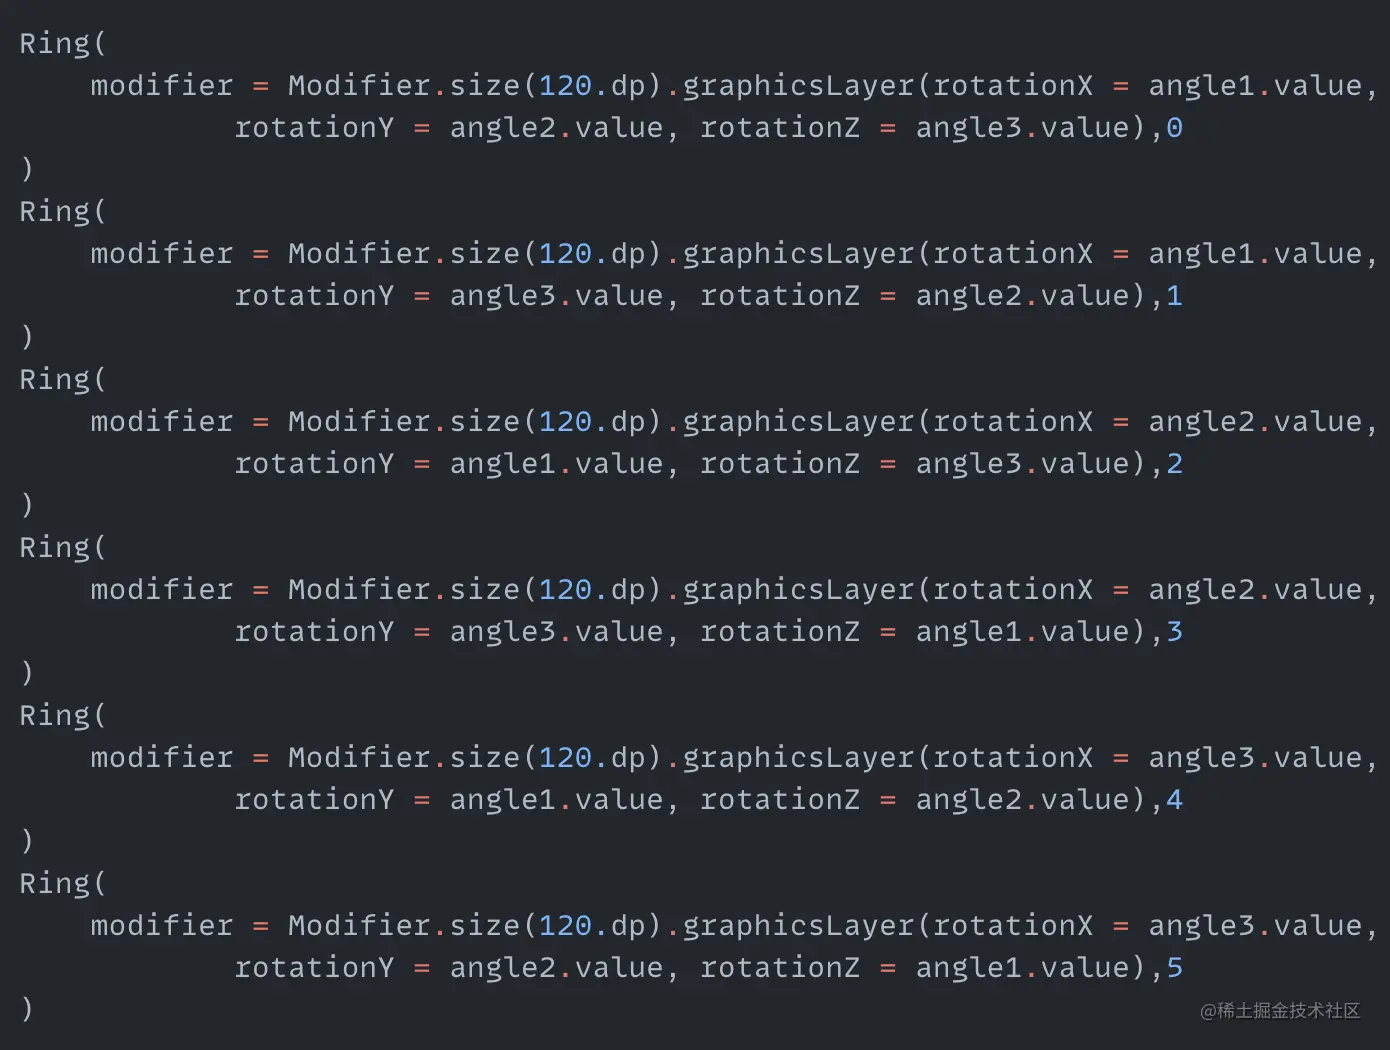
The ring rotation immediately becomes more 3D. But one ring is a bit dull, so let's add a few more rings. And to prevent overlap during rotation, we'll use different rotation angles for each one. How? We can create two more animations, one from 60 to 420 degrees, the other from 90 to 450 degrees:
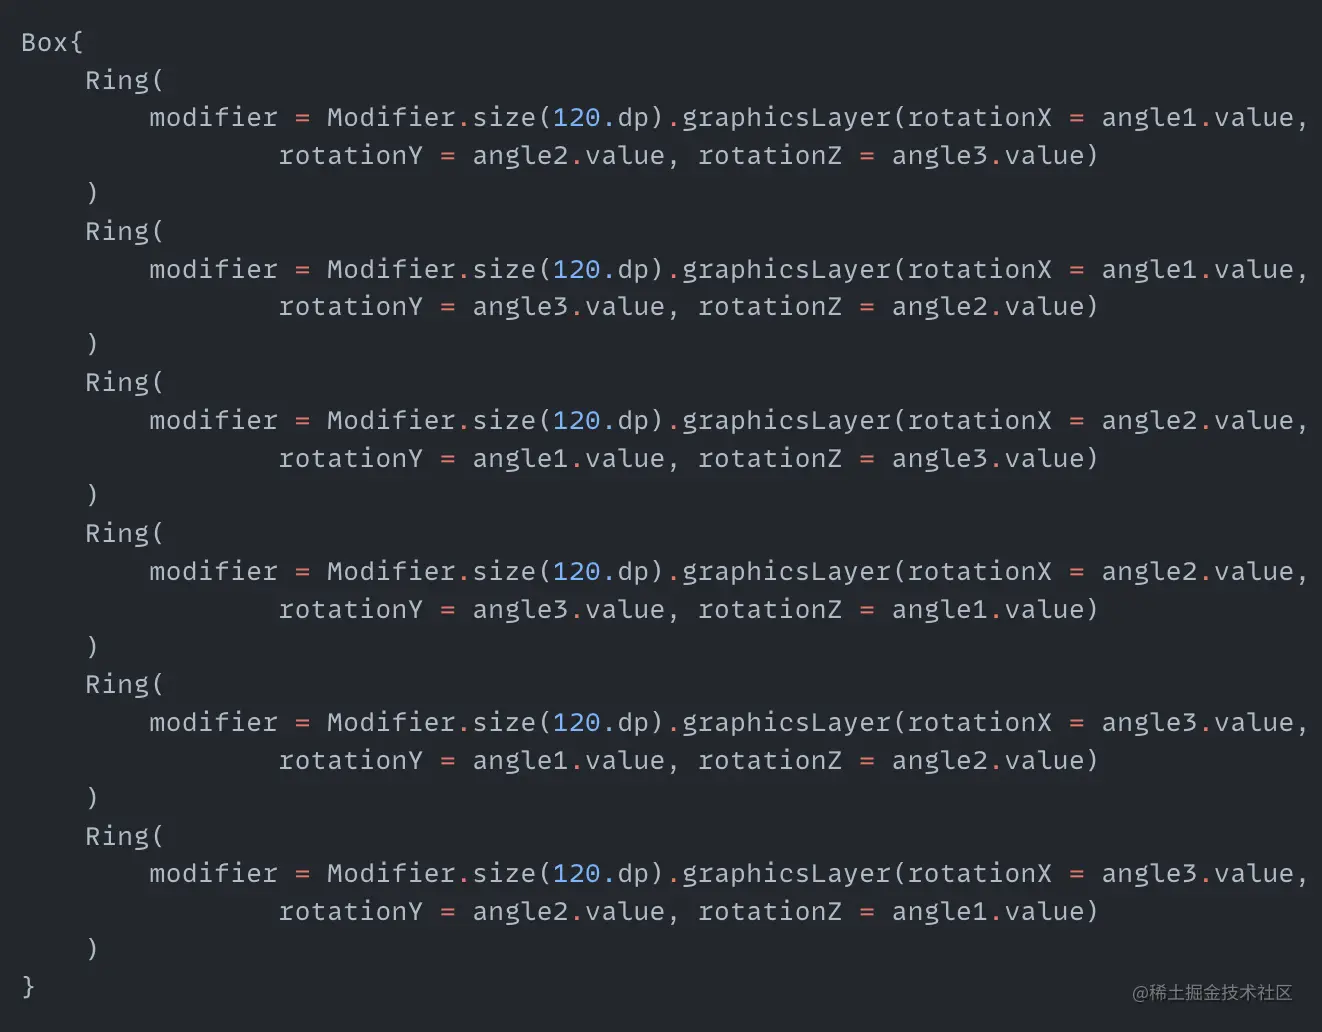
With three animations and three axes, we can have six rings with unique rotation directions by permutation:
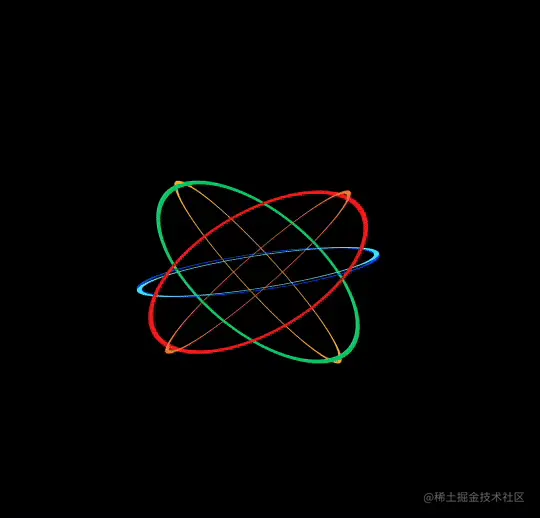
Now let's color the rings - after all, it's called colorful rings. We can define a color array in the Ring function, and use a timer to periodically pull colors from the array and set them on the ring:
We have an index variable initially pointing to the first color. Every 500ms we switch colors, looping back to the first when reaching the end. Let's see:
It's a bit monotonous with all rings starting the same color. We can improve by setting a different starting color for each ring. Add a startIndex parameter to the Ring function, and initialize index to startIndex instead of 0.

Now each ring has its own starting color. The final effect:
Colorful tail
Another colorful animation - this time a tail. How? Let's start by drawing an arc:
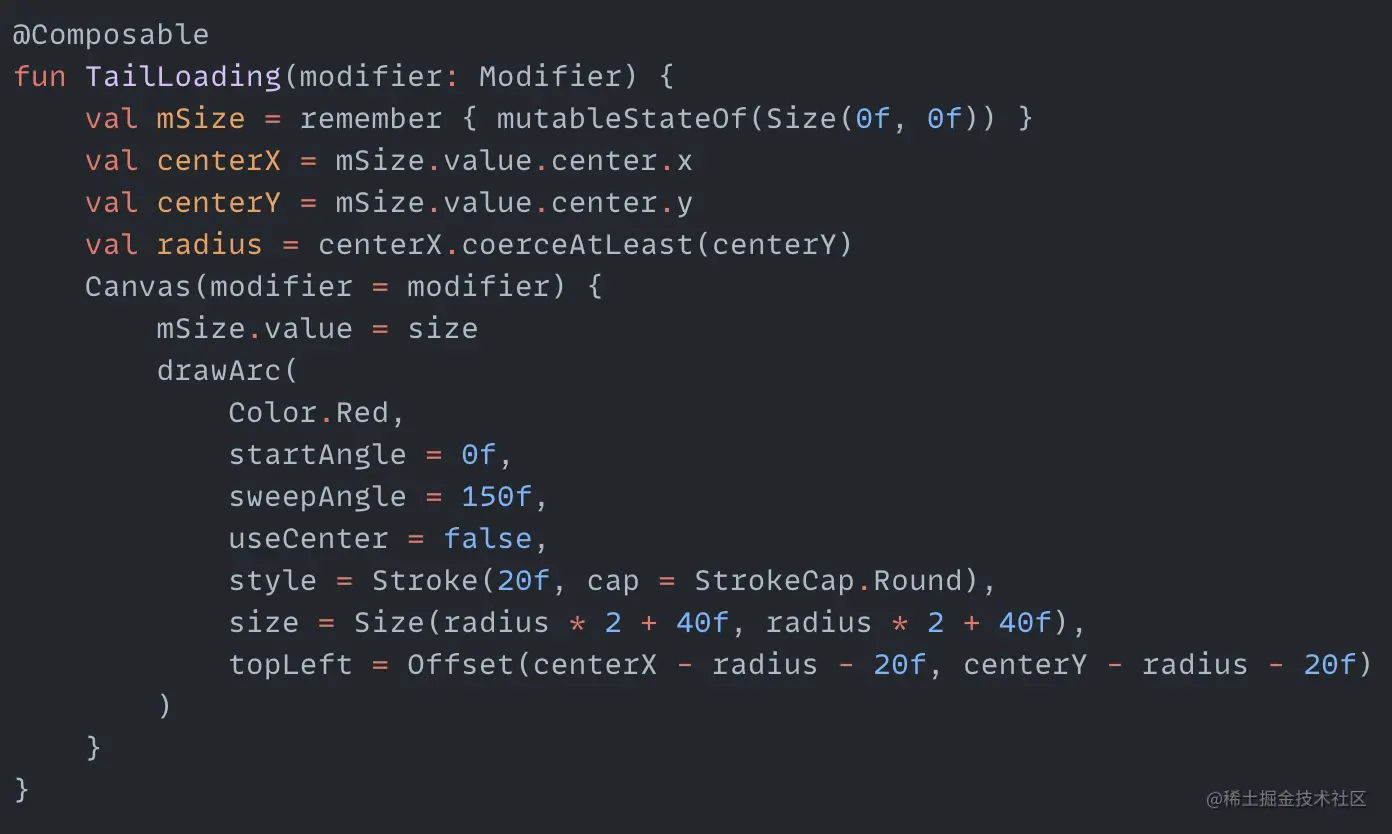
An arc is a sector that doesn't connect to the center point. We use the drawArc function with some arbitrary values to get a 150 degree arc starting at 0 degrees.
Let's spin it by changing startAngle in an animation loop:
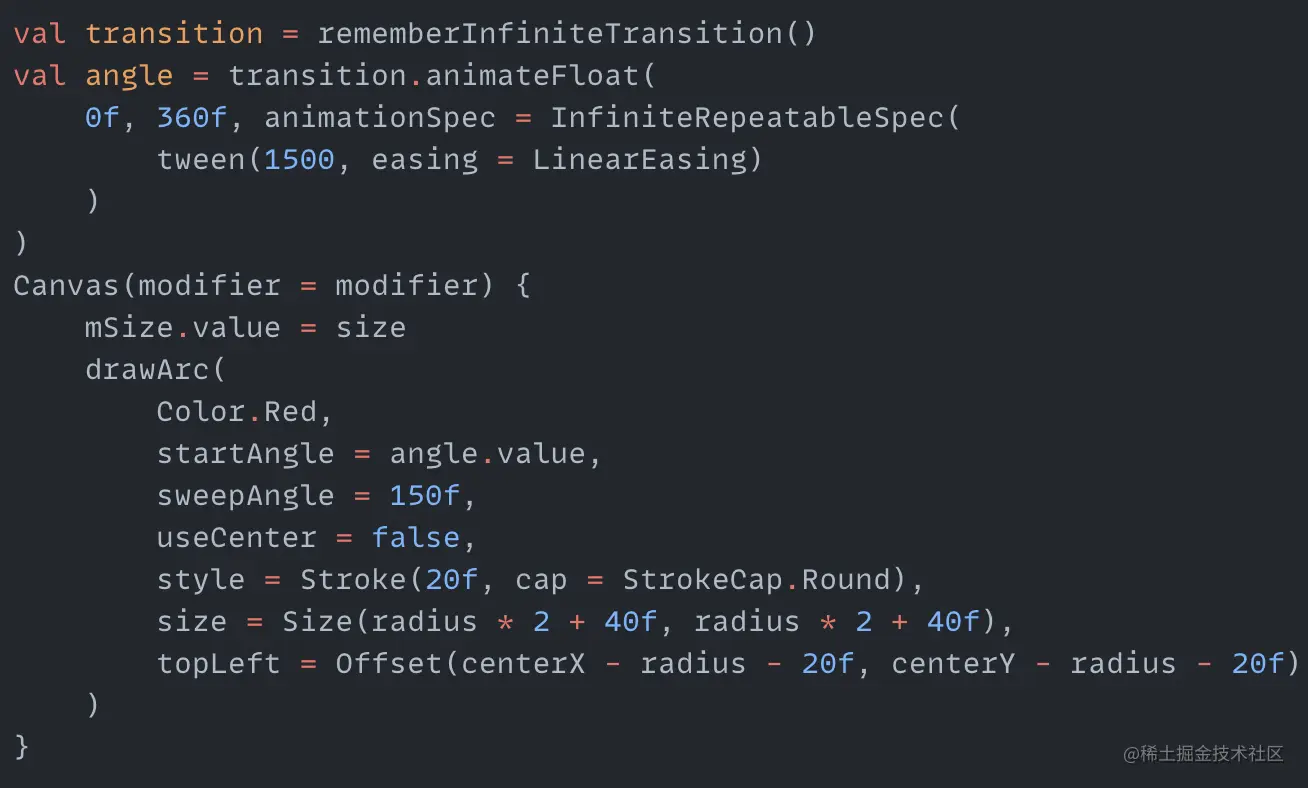

A spinning arc! Now to turn it into a colorful tail. Since there's no tail property, we'll draw one using multiple stacked arcs. Increase startAngle and decrease sweepAngle for each arc, also increasing thickness, to look like a tail. We need three arrays for startAngle, sweepAngle and thickness:

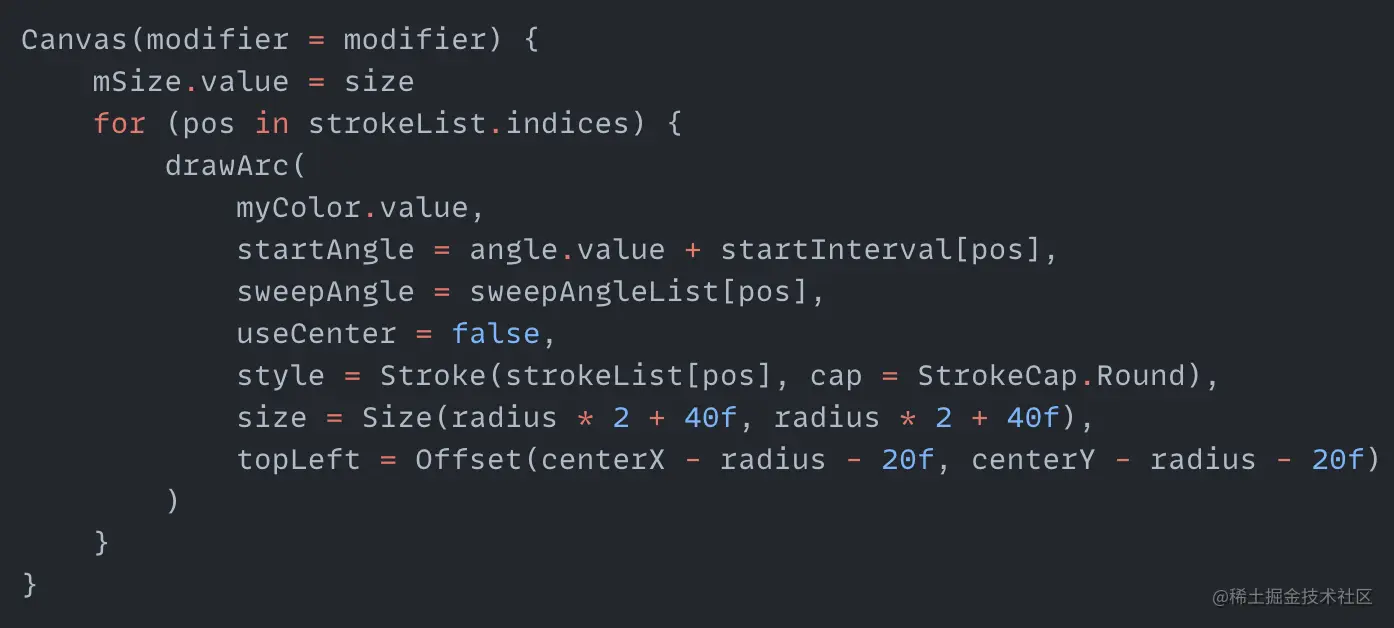
Loop through strokeList, using corresponding array values to draw each arc:
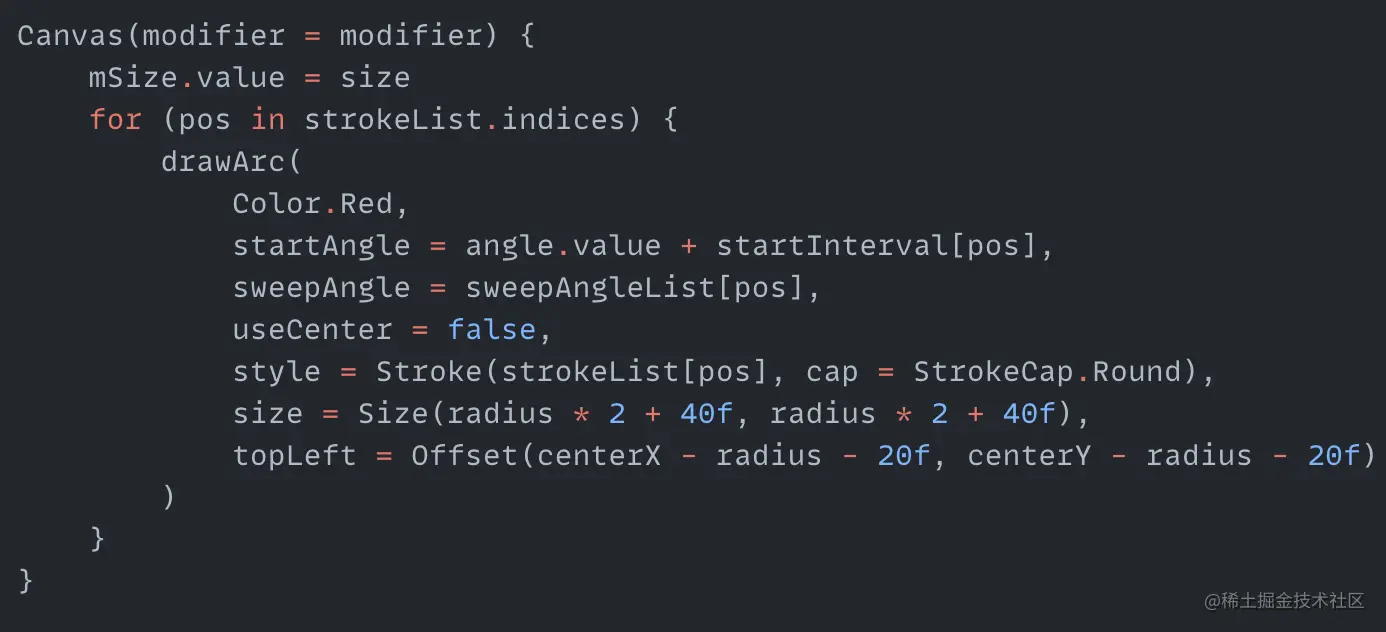
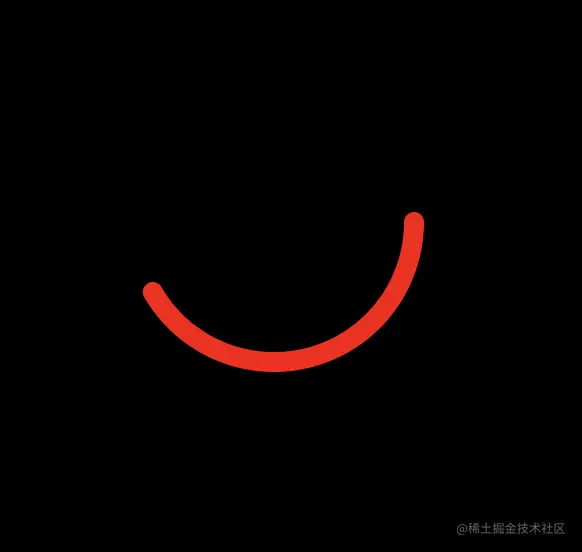
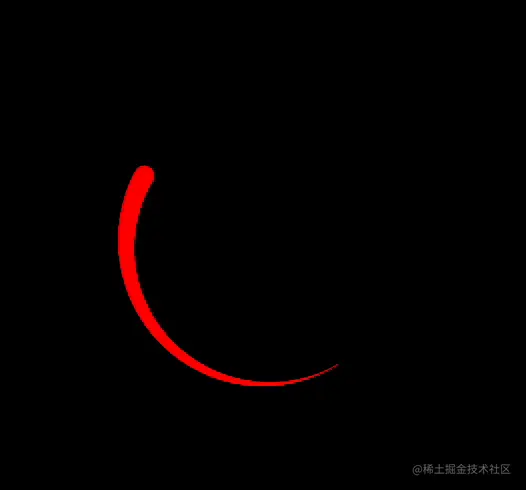
We now have a spinning red tail!
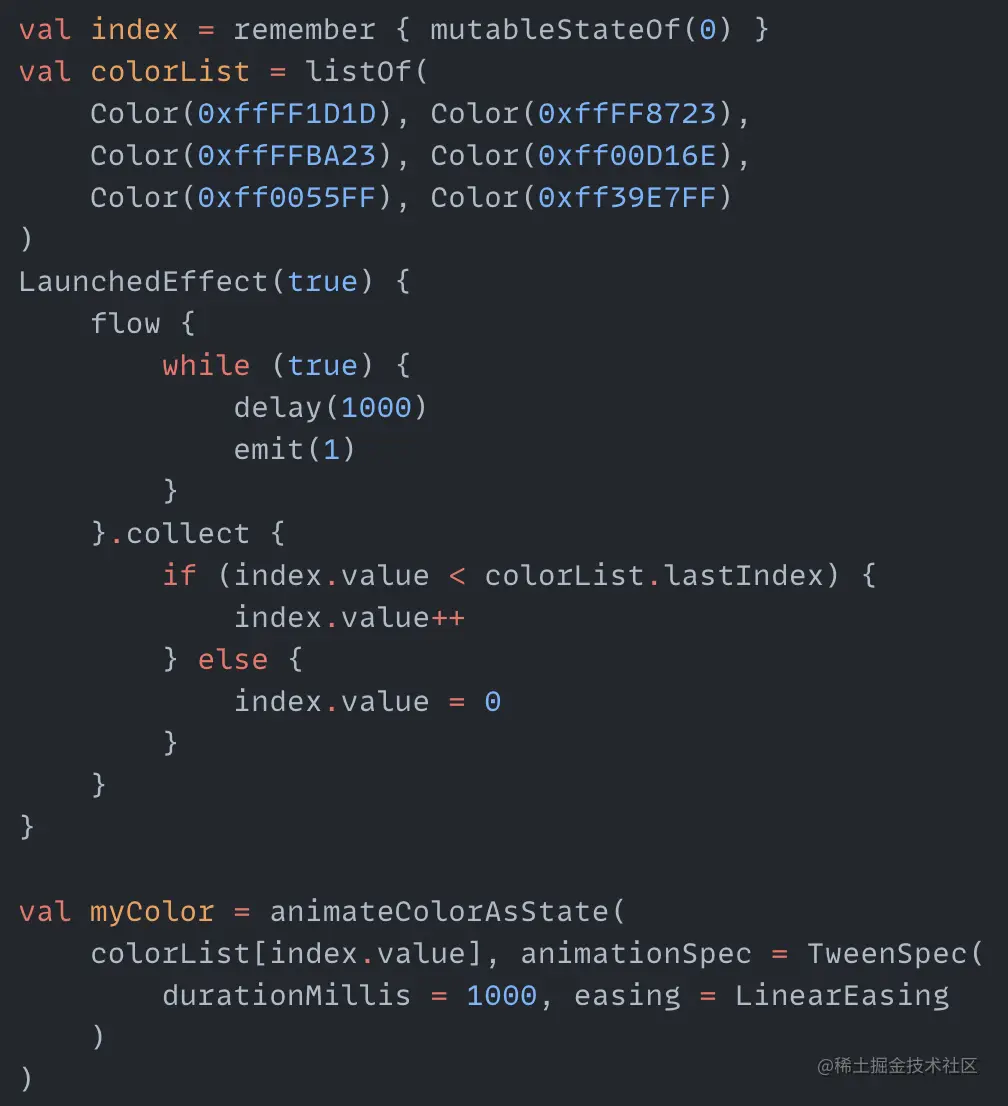
For color changing, instead of the previous approach, we'll use animateColorAsState. Use a timer to periodically get colors, set to animateColorAsState's targetValue, and apply the animated State<Color> to the arc's color property:
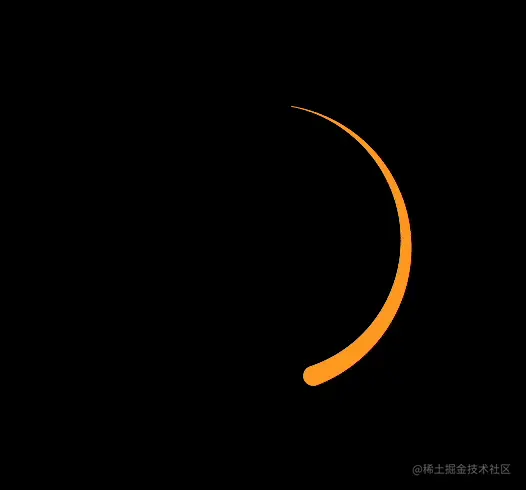
And we have a colorful tail!
Windmill
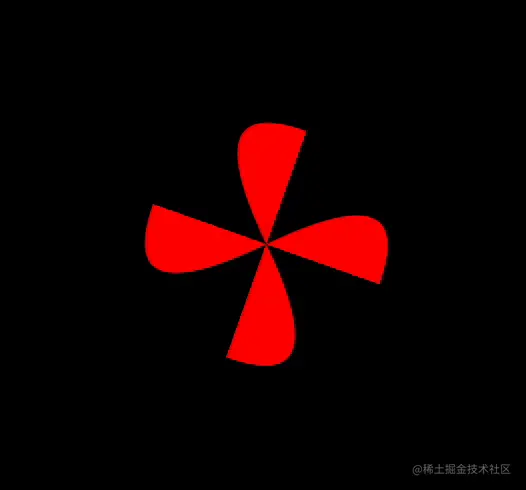
There are many ways to draw a windmill - two intersecting thick lines, four sectors, etc. Here we'll use Bezier curves and the quadraticBezierTo function for drawing a quadratic curve. Let's start with one blade:
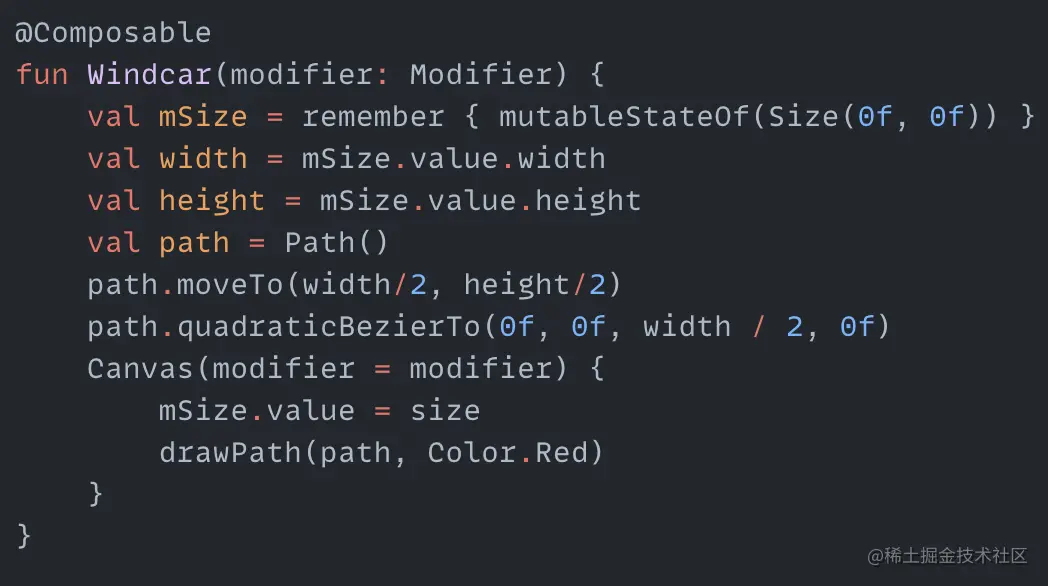
We see the control points are the canvas center, top left corner, and center of the top edge. This gives us one windmill blade.

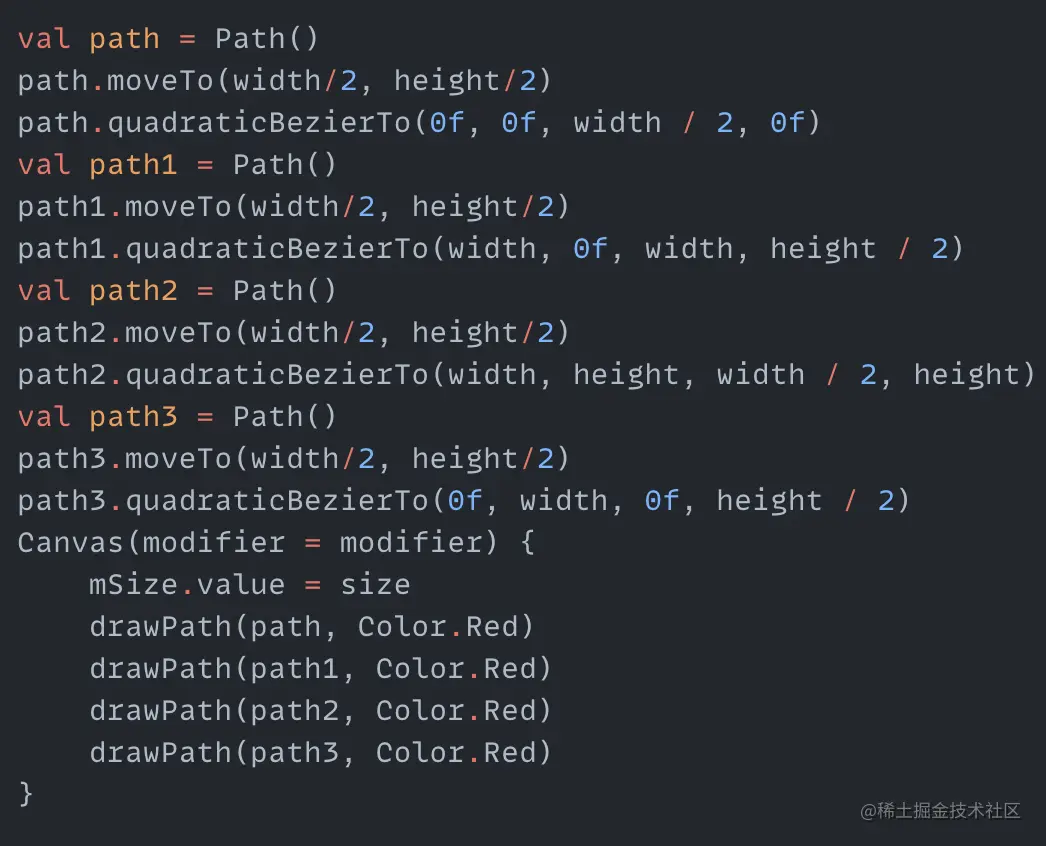
We can draw the other three blades the same way:
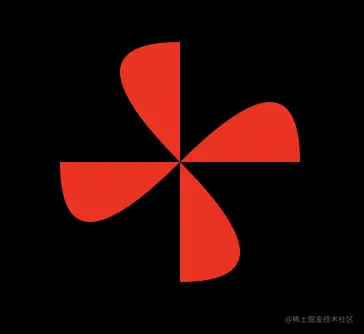
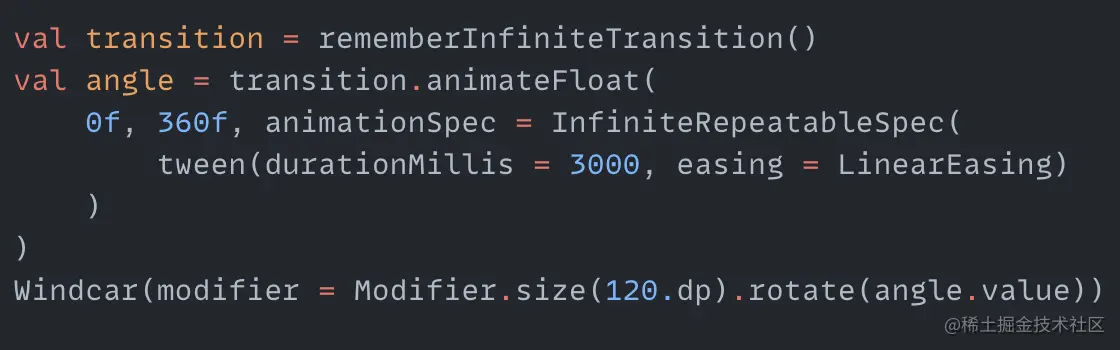
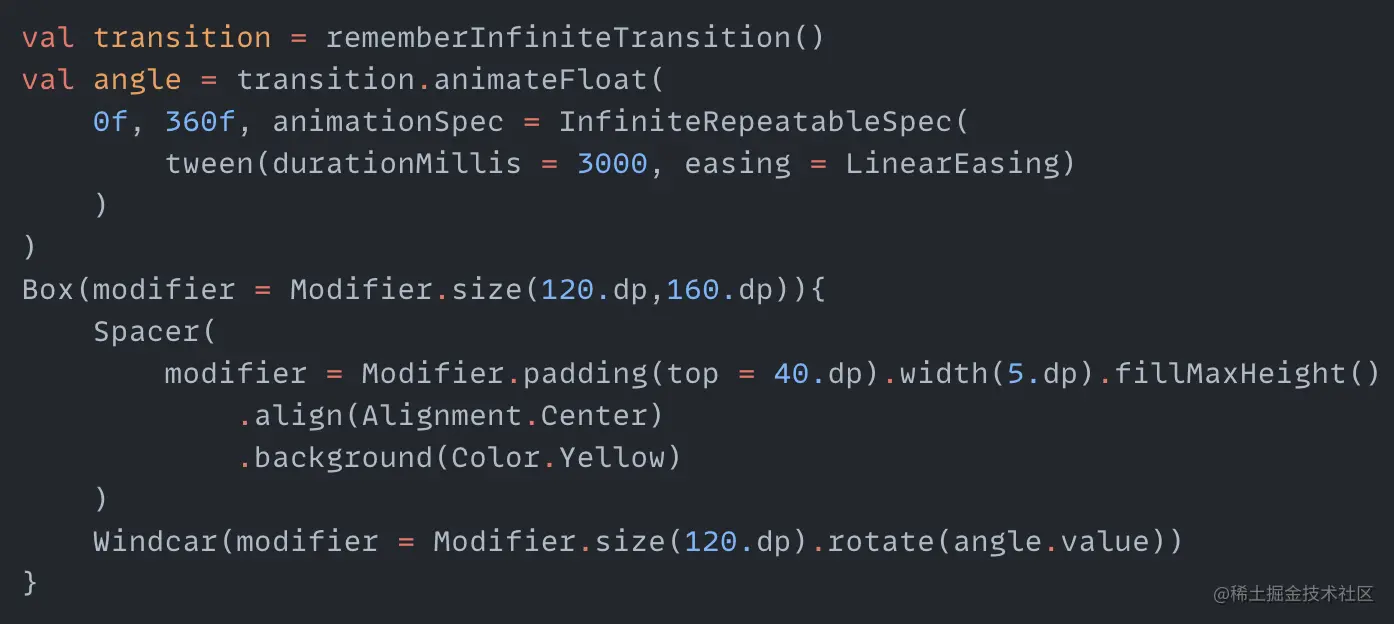
That was quick to draw a windmill. Now to animate it. We can use graphicsLayer and rotationZ for rotation. Or since we only need z-axis rotation, we can just use rotate which calls graphicsLayer internally:

Call the Windcar function and rotate:
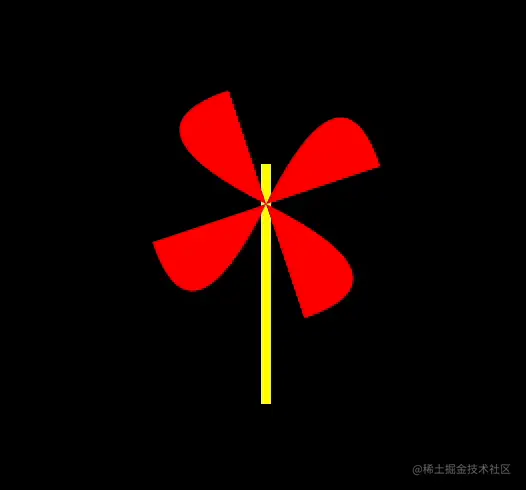
A quick improvement is to add a stick by wrapping Windcar and a Spacer in a Box:
And our windmill is complete:
Summary
With Compose we can easily create animations that previously required asking designers for image assets or Lottie files. Try recreating some of your app's loading animations with Compose!

Comments