
Scenario: In response to government requirements, commercial software should ensure that users' basic information is not "leaked" and cannot "directly display" sensitive user information such as phone numbers, ID cards, addresses, etc. According to the above scenario description, we can analyze two points: "Not leaked" means that user information should be encrypted and stored. "Cannot directly display" means that user information should be desensitized when displayed. Solution Foolish programming: Encrypt the fields related to user information entities in the project, such as name, mobile phone number, ID number, address, etc., before adding them to the database; Decrypt and desensitize the data in the database when displaying the user information list, and then return it to the frontend. Aspect-oriented programming: Mark the fields related to user information entities in the project (here we use UserBO to indicate, add @EncryptField to the name, phone fields in UserBO) with annotations, return the user information entity class (here we use UserDO to indicate, add @DecryptField to the name, phone fields in UserDO); then use @EncryptField and @DecryptField as entry points to implement encryption and decryption desensitization in an aspect-oriented way. Foolish programming does not mean foolish, it is like aspect-oriented programming. Foolish programming requires encrypting and decrypting desensitization logic processing for all interfaces related to user information, where the changes are relatively large, high risk, repetitive operations on the same logic, high workload, and difficult to maintain later; Aspect-oriented programming only needs to add annotations to user information fields, and uniformly perform encryption and decryption desensitization logic processing on fields with annotations, which is…

Preface Spring Security has become the first choice for permission verification in Java backends. Today I will take you through Security in depth by reading the code based on the open source project spring-boot-3-jwt-security. This article mainly explains Spring Security + JWT (Json Web Token) to implement user authentication and permission verification. All code is built on jdk17+. Let's get started! Technology Introduction Springboot 3.0 Spring Security Json Web Token (JWT) BCrypt Maven Project Construction The project uses postgresql database to store user information and Token (why not Redis? Leave this hole for now), you can replace it with mysql database as you like Accessing the database uses jpa, which is quite convenient for some simple sql that can be automatically mapped based on method names. It doesn't matter if you haven't used it before. It won't affect reading today's article, and can be replaced with mybatis-plus etc later according to your actual needs This article uses Lombok to generate fixed template code <parent> <groupId>org.springframework.boot</groupId> <artifactId>spring-boot-starter-parent</artifactId> <version>3.0.5</version> <relativePath/> <!-- lookup parent from repository --> </parent> <groupId>com.alibou</groupId> <artifactId>security</artifactId> <version>0.0.1-SNAPSHOT</version> <name>security</name> <description>Demo project for Spring Boot</description> <properties> <java.version>17</java.version> </properties> <dependencies> <!-- jpa --> <dependency> <groupId>org.springframework.boot</groupId> <artifactId>spring-boot-starter-data-jpa</artifactId> </dependency> <!-- spring security security framework --> <dependency> <groupId>org.springframework.boot</groupId> <artifactId>spring-boot-starter-security</artifactId> </dependency> <!-- web dependency --> <dependency> <groupId>org.springframework.boot</groupId> <artifactId>spring-boot-starter-web</artifactId> </dependency> <!-- database --> <dependency> <groupId>org.postgresql</groupId> <artifactId>postgresql</artifactId> <scope>runtime</scope> </dependency> <!-- lombok --> <dependency> <groupId>org.projectlombok</groupId> <artifactId>lombok</artifactId> <optional>true</optional> </dependency> <!-- JWT --> <dependency> <groupId>io.jsonwebtoken</groupId> <artifactId>jjwt-api</artifactId> <version>0.11.5</version> </dependency> <dependency> <groupId>io.jsonwebtoken</groupId> <artifactId>jjwt-impl</artifactId> <version>0.11.5</version> </dependency> <dependency> <groupId>io.jsonwebtoken</groupId> <artifactId>jjwt-jackson</artifactId> <version>0.11.5</version> </dependency> <!-- doc remove this if not needed --> <dependency> <groupId>org.springdoc</groupId> <artifactId>springdoc-openapi-starter-webmvc-ui</artifactId> <version>2.1.0</version> </dependency>…

I. Things to Know The security chain and security configuration of HTTP and WebSocket are completely independent. SpringAuthenticationProvider is not involved in WebSocket authentication at all. In the examples given, authentication will not occur on the HTTP negotiation endpoint, because the JavaScript STOMP (websocket) libraries do not send the necessary authentication headers along with the HTTP request. Once set on the CONNECT request, the user (simpUser) will be stored in the websocket session, and subsequent messages will no longer need authentication. II. Dependencies <dependency> <groupId>org.springframework.boot</groupId> <artifactId>spring-boot-starter-websocket</artifactId> </dependency> <dependency> <groupId>org.springframework</groupId> <artifactId>spring-messaging</artifactId> </dependency> <dependency> <groupId>org.springframework.boot</groupId> <artifactId>spring-boot-starter-security</artifactId> </dependency> <dependency> <groupId>org.springframework.security</groupId> <artifactId>spring-security-messaging</artifactId> </dependency> III. WebSocket Configuration 3.1, Simple Message Broker @Configuration @EnableWebSocketMessageBroker public class WebSocketConfig extends WebSocketMessageBrokerConfigurer { @Override public void configureMessageBroker(final MessageBrokerRegistry config) { config.enableSimpleBroker("/queue/topic"); config.setApplicationDestinationPrefixes("/app"); } @Override public void registerStompEndpoints(final StompEndpointRegistry registry) { registry.addEndpoint("stomp"); setAllowedOrigins("*") } } 3.2, Spring Security Configuration Since the Stomp protocol relies on the first HTTP request, authorization for the stomp handshake endpoint HTTP call is required. @Configuration public class WebSecurityConfig extends WebSecurityConfigurerAdapter { @Override protected void configure(final HttpSecurity http) throws Exception http.httpBasic().disable() .sessionManagement().sessionCreationPolicy(SessionCreationPolicy.STATELESS).and() .authorizeRequests().antMatchers("/stomp").permitAll() .anyRequest().denyAll(); } } Then create a service responsible for verifying user identity. @Component public class WebSocketAuthenticatorService { public UsernamePasswordAuthenticationToken getAuthenticatedOrFail(final String username, final String password) throws AuthenticationException { if (username == null || username.trim().isEmpty()) { throw new AuthenticationCredentialsNotFoundException("Username was null or empty."); } if (password == null || password.trim().isEmpty()) { throw new AuthenticationCredentialsNotFoundException("Password was null or empty."); } if (fetchUserFromDb(username, password) == null) { throw new BadCredentialsException("Bad credentials for user " + username); } return new UsernamePasswordAuthenticationToken( username, null, Collections.singleton((GrantedAuthority) () -> "USER")…
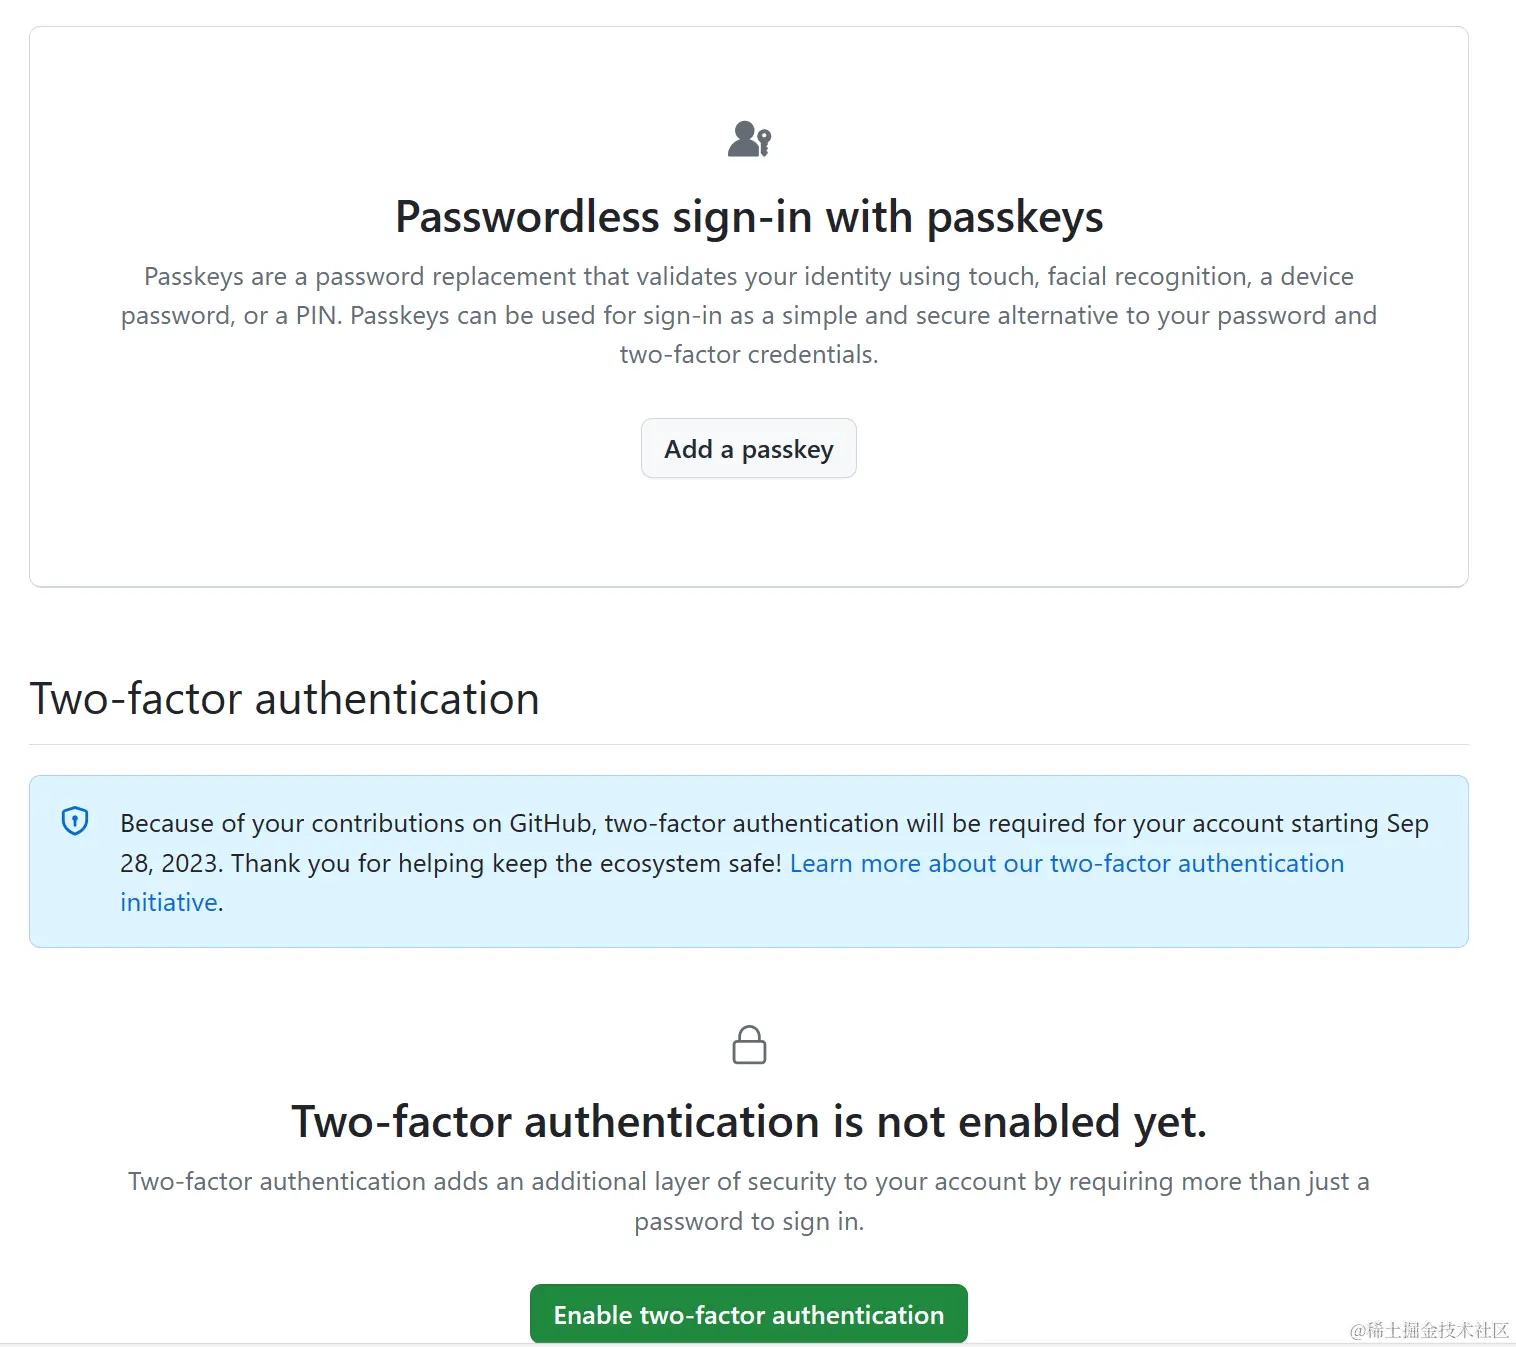
Since March this year (2023), Github has started to force users to enable two-step verification 2FA (two-factor) login verification, undoubtedly for security reasons, after all, once a Github account is stolen, all code repositories will be destroyed. For the necessity of two-factor login, please refer to: Don\'t let your server (vps) become a botnet (ssh brute force crack), key verification and two-way factor login are worth having. In simple terms, two-factor login is a measure to prove "you are yourself" through a third-party device. Github officially recommends downloading 1Password, Authy, Microsoft Authenticator and other APPs on the mobile side to verify by scanning the code. In fact, it is not so troublesome. This time we will implement two-factor login verification through Python/Golang code. TOTP algorithm Time-based One-Time Password (TOTP) is a time-based one-time password algorithm used to enhance identity authentication security. TOTP is based on the HMAC (Hash-based Message Authentication Code) algorithm and timestamp to generate one-time passwords. The user and server share a secret key, usually exchanged during initial authentication. Based on this key, the server generates an initial value for verification. At each time step (usually 30 seconds), based on the current timestamp and shared secret key, an HMAC algorithm is used to generate a hash value. Then, a dynamic password of fixed length is extracted from the hash value. This dynamic password is valid within the set time step, after which it will automatically expire. When authenticating, the user needs to enter the dynamic password generated within the current time step. The server will use the same…